Black Levels Matter: Your Guide to Perfect Dark Scene Projection
· Luke · gear and insights · 7 min read

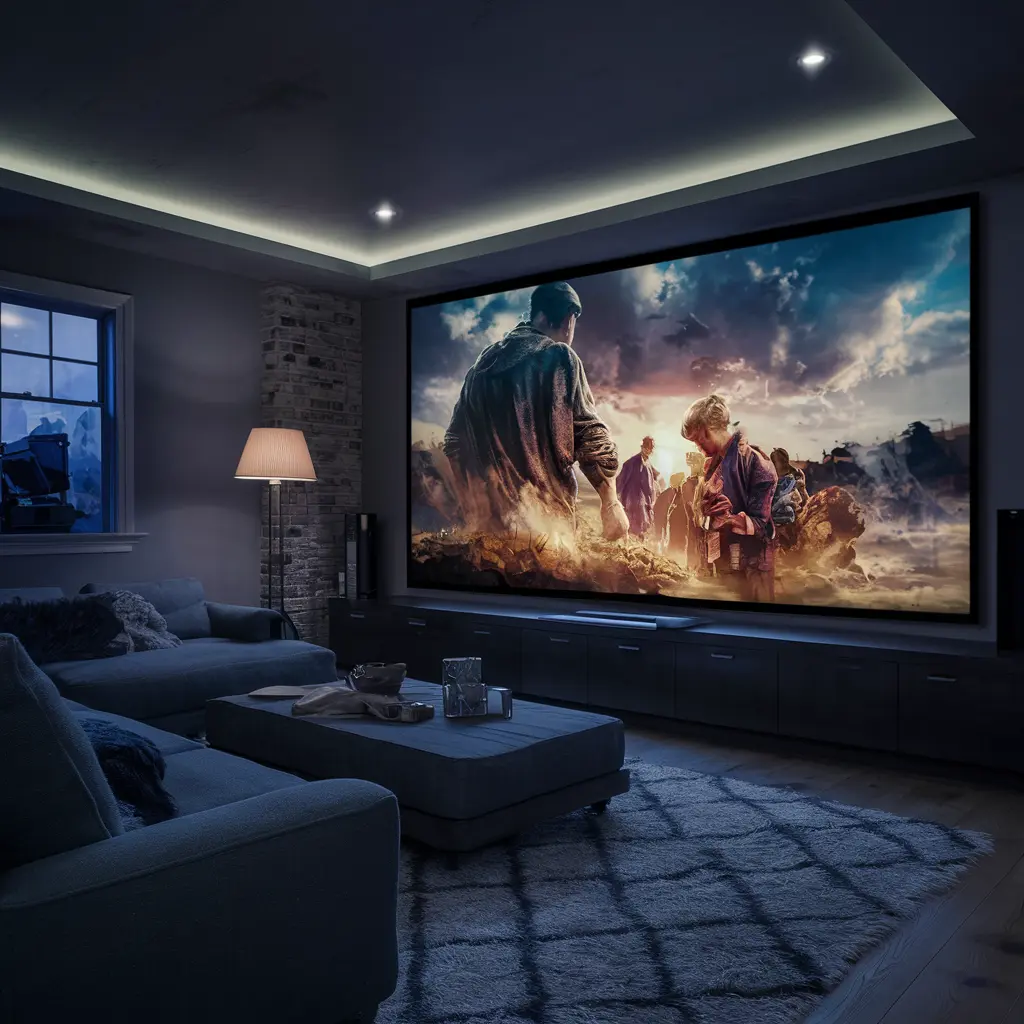
Ever get frustrated when a dark movie scene looks like a muddy mess on your projector screen? Or wish those epic space photos had more depth and impact? The problem isn’t your projector, it’s the blacks. See, for truly immersive visuals, you need those perfect inky blacks. That’s what makes movies feel cinematic and gives photos that extra dramatic edge.
Perfect black levels in projection mean zero light leaks, giving dark scenes incredible depth, detail, and realism. Movies look more cinematic, and photos gain a dramatic edge.
Quick Takeaways
- Black levels are seriously underrated – they make a huge difference for that “wow” factor, especially with dark content.
- Forget chasing insane resolution numbers – getting the blacks right is often a bigger upgrade, even with an average projector.
- Mastering black levels lets you get away with less expensive gear and still get an awesome picture.
Into the Abyss: What Are Black Levels?
Forget the technical jargon for a minute.
Think of trying to make out shapes in a completely dark room. You know there’s stuff in there, but it’s all a bit blurry. Now imagine someone turns on a tiny flashlight in the distance – suddenly, things pop into focus. That’s kinda what good black levels do.
The darker the dark areas, the more the bright parts shine. It’s about contrast, which is key to a realistic image.
Without those deep blacks, even super bright whites look flat and unimpressive.
Why Black Levels are Tricky for Projectors
Unlike your TV where each pixel can turn on and off, projectors block light. It’s more like trying to get full blackout with curtains – there’s always those bits of light sneaking around the edges.
That’s what makes perfect blacks such a pain to achieve with projection.
The Toolkit for Darkness: Projector Tech Breakdown
Let’s break down the different types of projectors you’ll find, and what to expect in terms of black levels:
- LCD: The Budget-Friendly Option: Think of them like fancy blinds for light. Affordable, and they get the job done for casual viewing, but those blacks will never be truly dark unless you spend a lot.
- DLP: Fast and Shadowy: Use tiny mirrors that flip to show light or block it. Better black levels than LCD, but still have room to improve. Great for all-around use, especially if you’re into gaming too.
- Laser: Blinding Brightness (With a Catch): These blast out insane amounts of light, which is awesome for bright rooms. But, some sacrifice black levels to do it. If you’re projecting in daylight, it might be worth it, but for a dark room, shop carefully.
- OLED: The Dream We’re All Waiting For: OLED TVs are incredible with black levels, but sadly still rare in projectors (and super expensive!). One day, they might be affordable, and then things get really interesting.
Tweaking for the Shadows: Calibration Essentials
Look, projectors outta the box are usually set up to look flashy in a store – maximum brightness, colors cranked up. That’s the opposite of what we want for good black levels. Here’s the basics:
- Don’t Trust Your Eyes (At First): It’s tempting to start tweaking the second you turn everything on. Resist! Your eyes need time to adjust to the darkness level. Give it at least 15 minutes before fiddling.
- Brightness Ain’t Everything: Cranking the brightness nukes your black levels. We’re going for a balanced image – detailed shadows and punchy highlights. Think Goldilocks, but with darkness.
- Test Patterns Are Your Secret Weapon: Forget eyeballing it. Search online for “black level calibration test patterns” and throw one up on your screen. These help you pinpoint the exact settings for the best balance.
- Got Money to Burn? Pro Calibration: If you’re obsessed with perfection, pro calibration is an option. They have special tools to get the absolute most out of your projector, but it ain’t cheap.
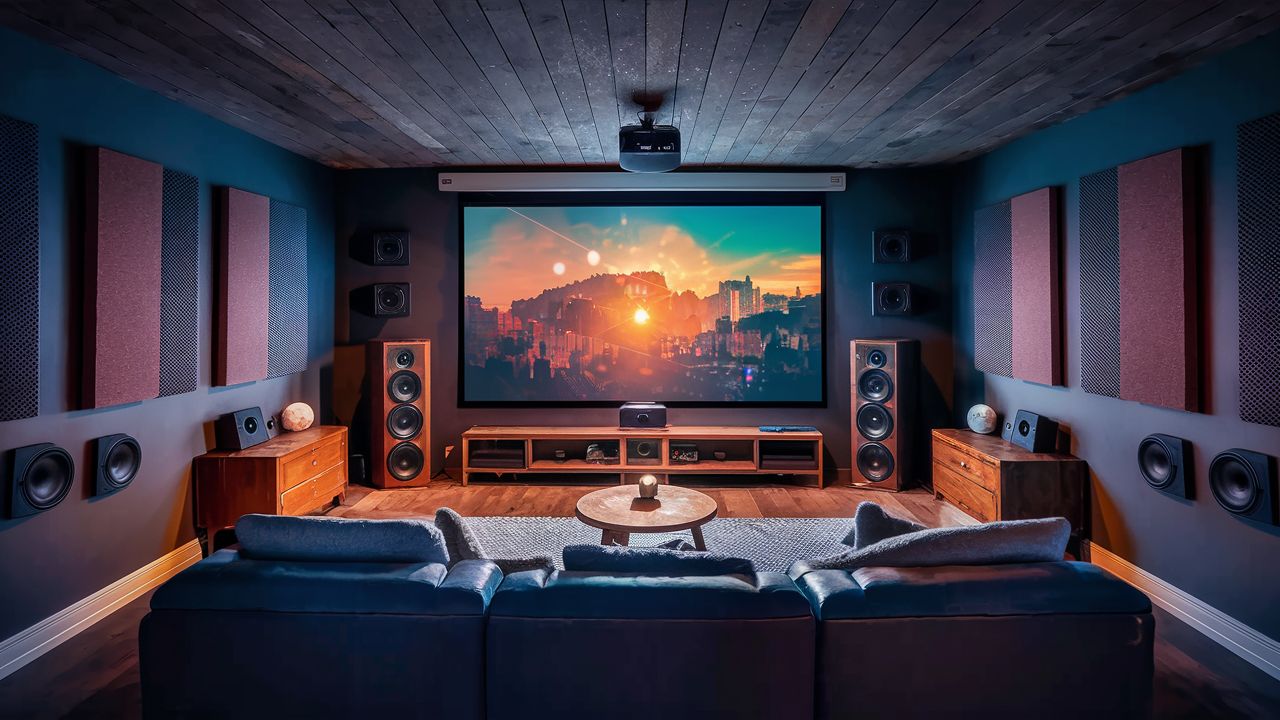
The Room Factor: Controlling Your “Black Hole”
Your room plays a huge role in how those black levels look, even if you have a fancy projector. Here’s the lowdown:
- Lights Out Means Lights OUT: Even tiny bits of light ruin the illusion. Movie time means turning off every light source. Cover LEDs on power strips, banish those glowing clocks – get ruthless.
- Your Screen is Key: Choose a matte, neutral gray screen. Forget those “high gain” ones that promise to boost brightness – they’re terrible for black levels. Think of it like trying to project onto a slightly dirty mirror – not ideal.
- Beware the Furniture: Light-colored couches, bookshelves, even stuff on the floor can catch stray light from your projector and bounce it back at your screen. Minimize clutter, and if possible, go for darker colors around the projection area.
Black Level Wizardry: Advanced Techniques
Ready to get a little nerdy? These tricks won’t work for everyone, but they can squeeze out even more inky goodness:
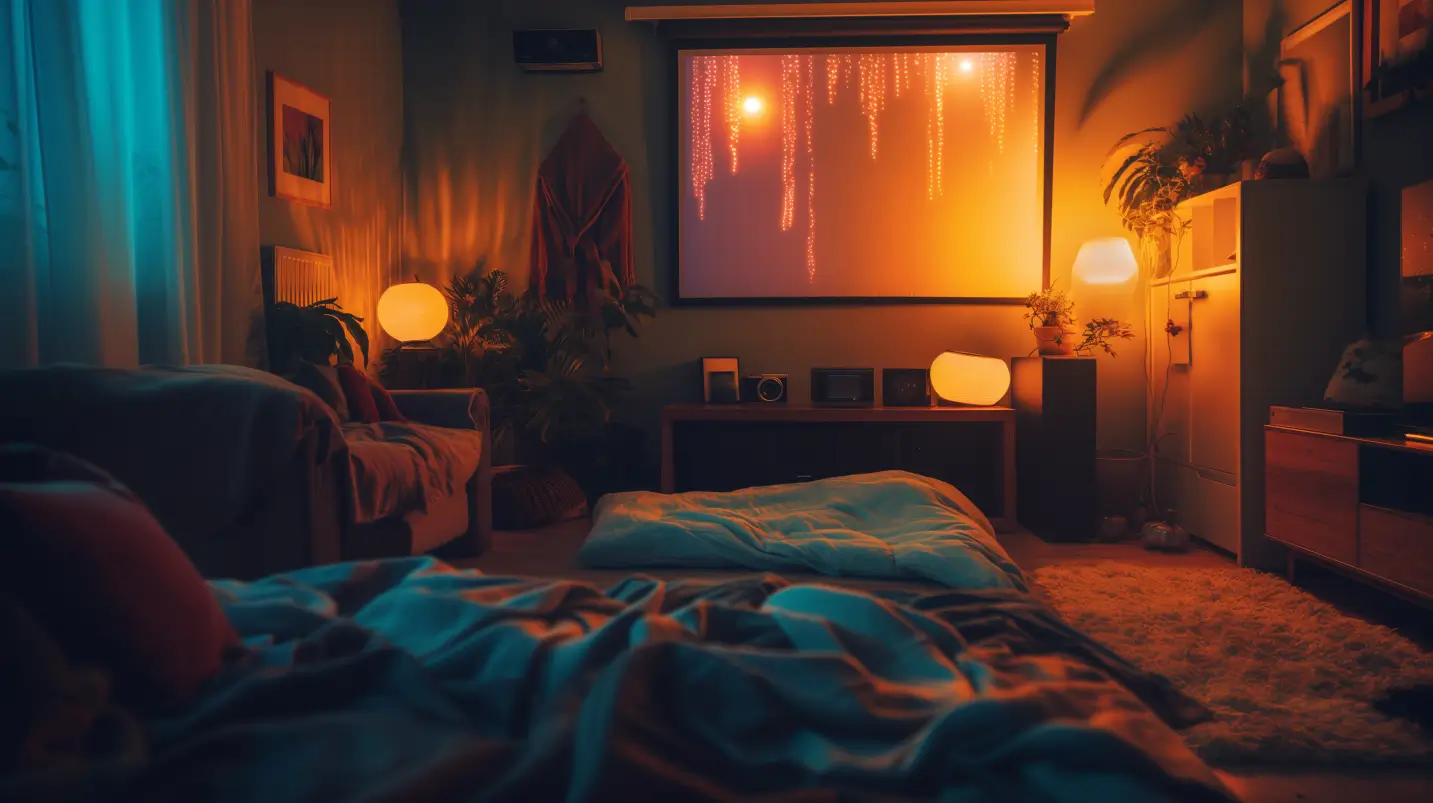
- The Sneaky Bias Lighting Trick: Sounds weird, but putting a very dim, neutral light behind your screen can actually improve how black levels look. Experiment with a subtle LED strip for a surprising effect.
- Gaming the System: Most projectors have hidden settings like gamma adjustment – these give you finer control over the dark tones. Dig into your menus or search online, but be careful, you can mess stuff up in there.
- Software to the Rescue: If your image is coming from a computer, check if there are video controls on that side too. Sometimes, combining those adjustments with the projector’s own settings works wonders.
Let’s add a couple more advanced techniques for serious enthusiasts:
- The Pricey Upgrade: Anamorphic Lenses: These fancy lenses aren’t just for widescreen movies. Turns out, they also help with black levels by using more of the projector’s light source. Very niche, but something to dream about if you’re chasing perfection.
- Light Eaters to the Rescue: If you’re stuck with a less-than-ideal room, there are special black felt tapes and materials you can add around your screen area. A bit of DIY work, but it helps soak up stray light and deepen the blacks.
The Ever-Deepening Darkness: Innovations to Watch For
Let’s not get too crazy with sci-fi here, but instead focus on practical advancements that could be game-changers:
- Projector Powerhouses Get Smarter: Picture a projector that can analyze the image in real-time and adjust its brightness and contrast on the fly. Maximum black levels even with bright scenes… that would be a massive deal.
- Screens That Play Tricks: Imagine a screen material that somehow adapts to the image, subtly darkening areas that should be in shadow. Okay, that’s a bit far-fetched, but it shows the lengths manufacturers could go to!
- Beyond the Eye: Perception Hacks: Sometimes, it’s about fooling your brain. Research into things like ultra-subtle lighting and surround effects could unlock new ways to experience deep blacks, even with average tech.
The Takeaway: The Pursuit of Perfect Black Levels
Whether you’re a home theater buff, a photographer, or just love watching movies, chasing perfect black levels is a journey – there’s always something new to learn and try.
Think of it like playing an instrument – it takes practice and fine-tuning. These tips are a starting point. Experiment, tweak, see what works in your space. The moment you see those inky blacks, that realistic depth… that’s when it all clicks, and your whole viewing experience transforms.
Embrace the Darkness, Unlock the Awe
The quest for perfect black levels might seem obsessive, but that’s because the payoff is huge. It’s about transporting yourself into the world on the screen, whether it’s a blockbuster movie or a personal photo.
Here’s a quick recap of the key things to remember:
- Start with the Basics: Calibration, screen choice, and room setup make the biggest difference, no matter your gear.
- Experiment Fearlessly: Don’t be afraid to try those weird tricks – you might be surprised what works for your space.
- It’s a Journey, Not a Destination: Technology keeps evolving, and your taste might too. Enjoy the process of dialing in your black levels!
Ready to take action? Here’s what to do next:
- Throw up a Test Pattern: Take a close, honest look at your black levels right now to get a baseline.
- Single Out a Weakness: Did a tip in the guide catch your eye? Pick one – even a small change can be noticeable.
- After the Tweak, Watch and Enjoy: Pay attention the next time you watch something with dark scenes. Did the change make an impact?
This is just the beginning. If you get hooked, there’s a whole community of projector enthusiasts out there to join. Now go forth and embrace those shadows!