Sound Absorption vs. Diffusion: 3 Steps to the Perfect Home Cinema Setup
· Luke · setup and optimization · 6 min read
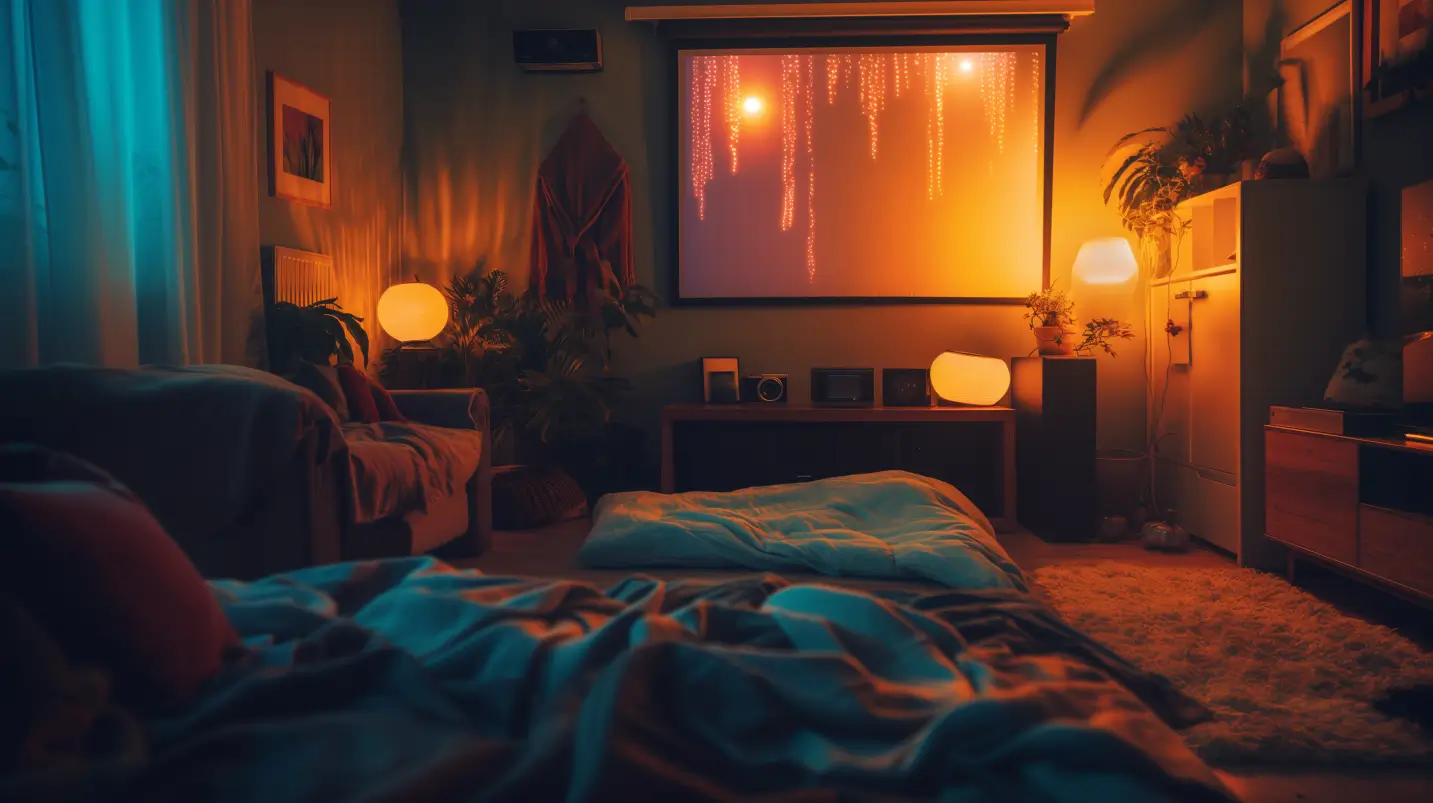
Let’s be honest; your cozy home theater is waging a secret war against your sound system.
Every bounce of sound off those bare walls, those reflections from your hardwood floor, it’s all a conspiracy to muddle, distort, and generally ruin the experience.
But before you start throwing soundproofing foam at every surface, we need a plan.
Step 1 – Analyze Your Room’s Acoustics
Why Your Room is the Enemy (And How to Understand It)
The first step is understanding your specific acoustic enemies. Think of yourself as a sound detective! Here’s how to get started:
- The Clap Test: Stand in your usual viewing position and clap your hands – loudly! Listen closely. Do you hear a fluttery echo? A harsh ring? That’s your room’s reflections messing with the sound.
- The Mirror Trick: This helps identify first reflection points. Grab a friend and a hand mirror. Sit in your listening position, and have your friend slowly move the mirror along the walls. Wherever you see the speaker in the reflection, that’s a spot where sound bounces directly to your ears from that speaker.
- Getting Technical (Optional): If you’ve got the budget, room analysis apps with your phone’s mic can give you detailed readings and pinpoint problem frequencies. It’s nerdy but satisfying!
Don’t panic if all this sounds overwhelming. Understanding that these issues even exist is half the battle! In the next section, we’ll discuss our first weapon against bad acoustics: absorption.
Step 2 – Strategic Use of Absorption
Tame the Echoes: Where to Place Sound Absorption Panels
Now that you’ve got a handle on your room’s trouble spots, it’s time to deploy our first weapon – absorbers!
Think of these as sonic sponges, soaking up those unruly reflections and restoring clarity to your sound.
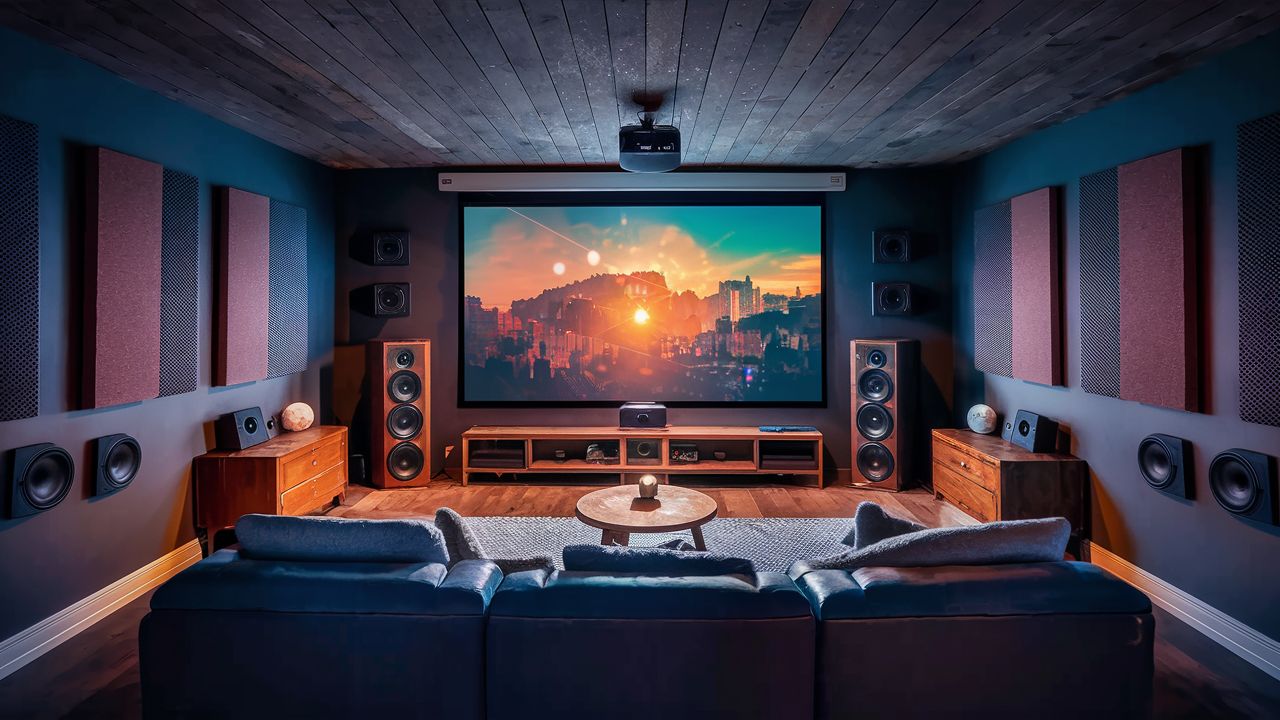
- Target #1: First Reflection Points: Remember that mirror trick? Those spots are prime real estate for absorbers. Tame these reflections, and your soundstage will instantly open up.
- Materials Matter: You’ve got options! Acoustic panels (rockwool, fiberglass) provide the most bang for your buck. But get creative - thick curtains, blankets strategically hung, even a packed bookshelf can absorb some sound.
- Don’t Go Overboard (Important Tip)! Too much absorption makes your room sound dead and lifeless. Balance is key. Aim to treat the worst offenders first, then fine-tune.
What does this actually achieve? Think of it like this: you’re removing sonic clutter so the original sound from your speakers can shine. You’ll hear crisper dialogue, special effects will have more punch, and your whole soundtrack will feel more spacious and immersive.
Step 3 – Enhance the Experience with Diffusion
Open Up Your Soundstage: The Magic of Diffusion
Okay, absorption was like cleaning up a sonic mess. Diffusion, on the other hand, is like upgrading from a standard TV to a huge, cinematic screen. It’s about creating a sense of space and ambiance that makes your home theater feel truly enveloping.
- How Absorption and Diffusion Differ: Think about dropping a rock into a pond. Absorbers calm the ripples closest to the splash; that’s what they do to direct reflections. Diffusers take the remaining energy and scatter it in multiple directions, mimicking how sound bounces around a concert hall or a real-world environment.
- Placement Matters: Diffusers generally go behind your listening position and on secondary reflection points – the walls a little further to the side where sound bounces after the first reflection.
- Types of Diffusers: You can purchase purpose-built diffusers with elaborate sculpted shapes or get creative! Uneven bookshelves, angled wall decorations – they all add a degree of diffusion.
The Result? Instead of sound just hitting you directly from the speakers, you’ll get a richer wash of ambience. Movies won’t just sound louder – they’ll feel more immersive, more realistic. And for music? It’s like your room transforms into a concert hall!
Finding the Perfect Balance
Conventional wisdom might suggest that achieving superior sound in small rooms is a tall order. Yet, with the right strategies, even the coziest of cinemas can deliver an outsized auditory experience. The challenge in small spaces is managing sound reflections and decay times—the time it takes for sound to “die out.” Too much absorption can make the room sound dead, while too little can lead to a cacophony of echoes.
The solution lies in precision—adjusting decay times and strategically covering a portion of the room with treatments. Software tools like Room EQ Wizard offer a tech-savvy approach to personalize your acoustic plan. By measuring your room’s acoustics, you can pinpoint exactly where to place treatments for optimal effect. The goal is to strike a balance that preserves the vitality of the sound without letting it spiral out of control.
Pro Tips:
By now, you’ve grasped the acoustic essentials. But getting that perfect home cinema sound is a journey, not just a checklist. Here are some tips to refine your setup:
- Example Time: Imagine your room has harsh echoes. Start with absorption panels at the main reflection points. Next, add a diffuser or two behind your listening area for a spacious feel. Notice the difference? That’s the power of combining both approaches.
- The “Less is More” Approach: Beginners tend to overdo it. Treat the biggest problems first, then listen critically. Add more acoustic treatment in small increments until you reach that sweet spot.
- Your Ears are the Best Tool: Specs and charts are helpful, but ultimately, trust your ears. If something sounds good to you, it probably is!
- Learn and Experiment: Home cinema acoustics is a fascinating rabbit hole. Check out online forums for inspiration, visit manufacturer websites to gain insights, and never be afraid to try something new.
- Addressing Specific Room Challenges: If you have any particular room shapes or layout issues you’d like to consider, we could include tips for dealing with those (small rooms, high ceilings, etc.)
- Bass Traps: While our focus was broader, we could add a brief mention of bass traps, explaining their importance and the kind of listener they’ll benefit most.
- Budget Alternatives: Acoustic treatment can get expensive. Perhaps we dedicate a tip to clever, budget-friendly DIY solutions for those who can’t afford to purchase commercial products.
You embarked on this journey with muffled sound and frustrating echoes. Now, you’re equipped with the knowledge to transform your home cinema into an acoustic haven! Those problematic reflections? Tamed with strategically placed absorbers. The lack of spaciousness? Banished by a touch of diffusion magic.
Are you ready to experience your movies and music the way filmmakers and musicians intended? The first step is simple – take a closer look (and listen!) to your room. Let the analysis begin!
Takeaways:
- Treat First: Focus on first reflection points (where sound bounces directly from speakers to your ears) for the most significant improvement.
- Balance is Key: Don’t overdo absorption! Too much can make your room sound dead.
- Combine Techniques: Use both absorption and diffusion for optimal results. Absorption clarifies, diffusion creates a spacious ambiance.