7 Costly Home Cinema Lighting Mistakes (and How to Avoid Them)
· Luke · gear insights · 16 min read
Think you’ve got the perfect home theater setup? Amazing projector, killer sound system – you’ve nailed it… or have you?
Here’s the hard truth even many home cinema buffs miss: if you’re not paying attention to the light in that room, you’re NOT getting the picture you paid for.
And worse, you might be making some sneaky mistakes that are sabotaging your movie night experience and flushing money down the drain!
Don’t freak out – fixing your home cinema lighting doesn’t have to be a nightmare. Let’s dive in!
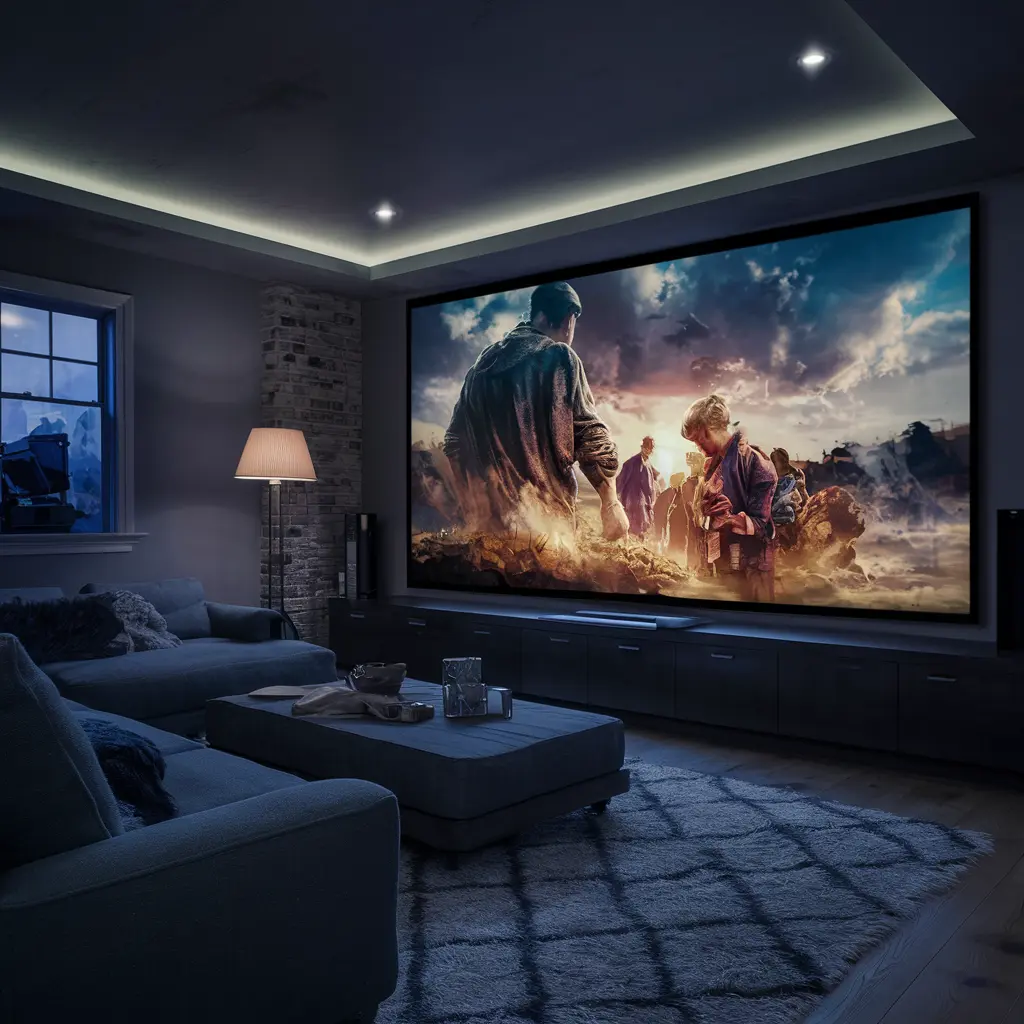
The key to creating a movie-theater feel at home is to understand and control the light in the room.
Quick Takeaways
- Light can make or break your viewing experience
- You might be ruining your picture without even realizing it
- You can achieve cinematic levels of picture quality at home (without spending a fortune!)
- Different lighting situations call for unique solutions
- Modern technologies make lighting control easier than ever
Understanding Light in Home Cinemas
Light. It’s everywhere, and most of the time, we barely pay it attention.
But in your home cinema, light becomes your worst enemy. See, our eyes are amazing – they adjust automatically to changing light conditions. That’s great for daily life, but in your cinema space, your eyes are working against you.
Think about it: dark scenes in movies are designed to be seen in a truly dark environment.
The bright areas pop because the contrast makes the picture more dramatic and more realistic.
When you’ve got a bunch of ambient light flooding the room, those dark areas get washed out, making the whole image look flat and boring. That spooky scene in the horror flick? Yeah, not so scary anymore when your room is glowing.
Pitch Black vs. Bright Room Cinemas
Picture this: You head to the coolest, high-end cinema in town. They spare no expense – amazing projector, 7.1 sound, the works. Then, they leave the house lights half on during the movie. Would you lose your mind? Absolutely (and maybe demand a refund).
Now think about this: how well does YOUR home theater stack up to a pitch-black movie theater environment? Are you guilty of making this costly lighting mistake?
Don’t worry – most of us are at first, but it’s an easy fix (and totally worth it!).
Mistake #1: Ignoring “Sneaky” Light Sources
Designing for Optimal Light Control
Okay, now we get practical. Your goal is to minimize unwanted light hitting your screen, and you might be surprised where it’s lurking. Here’s the deal:
- The Enemy is Within: Don’t just think big – those tiny power lights on your TV, cable box, even your Blu-Ray player might seem insignificant, but they add up! Do the “flashlight test” – turn off ALL lights, shine a flashlight around, and you’ll find those hidden light leaks. Little bit of electrical tape, problem solved.
- Wall Color is Key: Dark, matte paint absorbs light instead of reflecting it. Avoid glossy finishes – they’re the enemy of good contrast. Pro Tip: Look for paints with an LRV (Light Reflectance Value) under 10 for the darkest tones. If repainting isn’t an option, consider velvet panels to reduce reflections around the screen. Don’t worry, it doesn’t have to look like a vampire’s lair!
- Windows are Trouble: No surprise here. If you truly want a cinematic experience, consider blackout curtains or even dedicated cinema shutters for maximum control. But let’s get real – sometimes you want to watch a movie during the day. For less permanent solutions, explore blackout blinds fitted closely to the window frame or DIY temporary darkening covers.
- Don’t Forget the Floor: Dark carpets are ideal, but not always possible. A strategically placed area rug under your viewing area makes a surprising difference, reducing distracting reflections bouncing up towards the screen.
Mistake #2: Mismatched Tech
Lighting and Projector/Screen Compatibility
This gets a little technical, but it’s essential. Think of it like this: Even with perfect light control, you can still sabotage the picture if your projector and screen aren’t the right match for the room.
- Projector Lumens Matter: Think of lumens as the power of your projector’s light output. Brighter projectors (2000+ lumens) can handle some ambient light, but darkness is still ideal for optimal contrast. Here’s a quick guide:
- Projector Lumens: <1500 = Needs a very dark room
- Projector Lumens: 1500-2000 = Best with dim lighting
- Projector Lumens: 2000+ = Can tolerate some ambient light
- The ALR Revolution: Ambient Light Rejecting (ALR) screens are designed to reject light from the sides and above, giving you a better picture even in brighter rooms. If you struggle with daytime viewing, an ALR screen paired with a suitable projector can be a game-changer. Investing in an ALR screen when your projector isn’t powerful enough is a costly mistake though. Make sure to research which projectors work best!
- HDR Headaches: HDR (High Dynamic Range) content demands a dark room, no matter how fancy your tech is. If you love HDR movies, strict light control is even more crucial, or you’re basically wasting the capabilities of your equipment.
Mistake 3: Not Thinking About the Bigger Picture
Designing for Optimal Light Control
- Sneaky Surfaces: It’s not just paint and windows! Think about how other surfaces in the room can create reflections that bounce light onto the screen. Picture frames (especially under glass), shiny furniture, and even white ceilings all contribute. Simple tricks can make a big difference: repositioning a lamp, throwing a dark blanket over a reflective side table, etc.
- Your Setup Changes Everything: The ideal lighting setup depends on where your seating, projector, and screen are in relation to each other. For instance, if your projector is right above your couch, light from it can reflect off your shiny forehead and right onto the screen (trust me, it’s happened). Sometimes, small adjustments to furniture placement can make a surprising difference.
Mistake #4: Forgetting about Comfort and Convenience
Lighting Control Technologies
Good news: you don’t need to go full vampire-mode to achieve the perfect picture. There are tons of awesome technologies to help, so you won’t even have to learn how to hiss or anything. But before you go buying every gadget on Amazon, think about your needs:
- Smart Lighting Systems: This is where things get exciting. Control everything – dimming, color settings, the works – from your smartphone or voice commands. Perfect for setting the mood before the movie starts and subtly adjusting during the film if needed.
- Motorized Shades and Curtains: Transform your room at the touch of a button. Great for daytime viewing when you need to go full blackout quickly, or if your windows are hard to reach.
- Dimmers and Switches: Old-school but essential, especially for overhead lights you don’t want totally smart but need dimming control over.
- Don’t Forget Convenience: Losing the remote in the dark, fumbling for the lights when you need to reach for snacks… these are small annoyances that can spoil the experience. Make sure your lighting control setup doesn’t create new problems! Voice commands or well-placed switches go a long way.
Alright, let’s dive into the next round with even more mistakes woven into the solutions!
Mistake #5: Thinking Light Control = Expensive
The Budget-Friendly Truth about Light Control
Here’s the deal: you DON’T have to spend a fortune to get awesome results. In fact, with some clever planning, you can make major improvements without breaking the bank:
- Start with the Basics: Dimmers for those existing overhead lights make a huge difference for cheap. Used strategically (aiming them AWAY from the screen), they give you way more control than just an on/off switch.
- DIY Power: Blackout fabric is surprisingly affordable, and with a bit of creativity, you can make temporary window coverings for daytime viewing that actually look good. Think stylish Roman shades instead of trash bags taped to the window.
- Resourcefulness is Your Friend: Repurpose stuff you already own! A floor lamp with a colored bulb can add cool ambient light, blankets can cover problematic reflections, etc.
- Focus on Impact: What’s the ONE thing that bugs you the most? Glare from the window? Annoying blue light from your DVD player? Start there, and you’ll be shocked at how big of a difference even a small change makes.
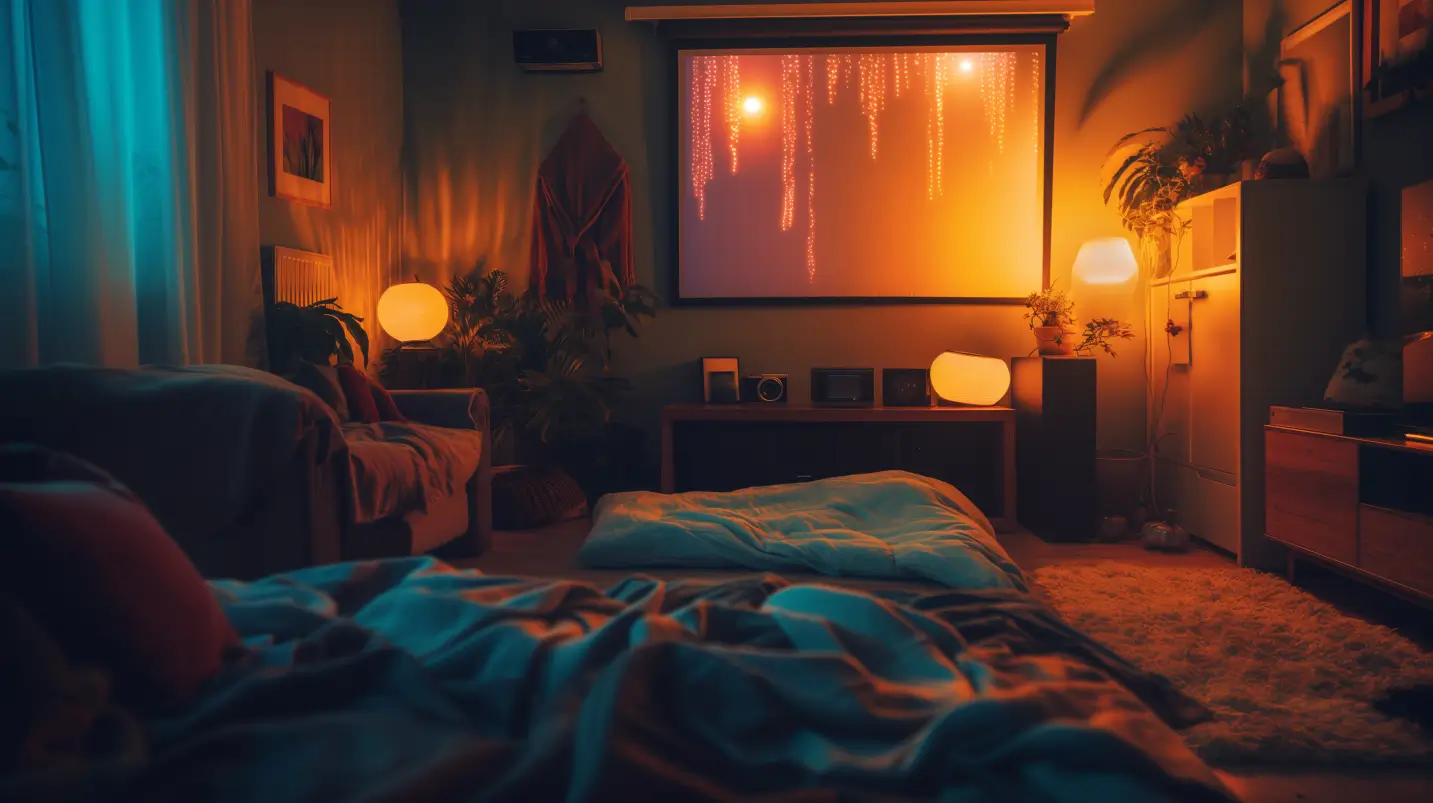
Mistake #6: Ignoring Bias Lighting
Implementing Bias Lighting
Think your home theater must be pitch black? Wrong! While perfect darkness IS ideal for the image, it’s actually healthier for your eyes to have a tiny bit of light behind the screen. This is called bias lighting, and it’s not just about comfort:
- Reduced Eye Strain: Staring into a bright screen in total darkness can strain your eyes over time. Bias light adds a subtle backlight, making viewing more comfortable and potentially preventing headaches during those movie marathons.
- Enhanced Perceived Contrast: It’s a visual trick! Bias light makes the blacks seem deeper, giving you an even more cinematic experience. It’s surprisingly effective.
- Easy Install: Bias lights are usually LED strips you stick to the back of your TV or screen. Simple and effective! Many even come with remotes for color-changing fun.
- Important Note: Don’t go overboard! Bias light should be barely noticeable. Think soft-glow nightlight, not a spotlight.
Mistake #7: Not Planning for the Future
Future-Proof Your Lighting
Think about it: you just invested good money in that amazing projector, the killer sound system… doesn’t it make sense to design your lighting in a way that can grow with your home theater? Here’s the thing:
- Flexibility is Key: Instead of quick fixes that only solve your problems right now, choose solutions that give you adaptability. Smart lighting is a great example – you can change the settings for different moods or future upgrades.
- Don’t Forget Cable Management: This sounds boring, but trust me, it’s a costly mistake to ignore! Having neatly organized cables makes adding new gear or changing positions of your projector way easier, preventing future lighting headaches.
- Think Long-Term: Even if you can’t repaint right now, what about a year from now? Planning your lighting control around design choices that are more permanent (like dark walls) means your home cinema will always look and perform its best.
Case Studies: Real People, Real Lighting Solutions
We’ve all been there – drooling over fancy home theater setups online, only to get frustrated when our own space doesn’t measure up. But let me tell you, the secret to a great picture isn’t always endless cash or a perfect room.
We scoured forums, social media, and maybe even bugged our own movie-buff friends to find some real people tackling the same lighting headaches you might face. Their solutions aren’t from some stuffy textbook – they’re tried-and-tested in messy basements, shared living rooms, and even tiny apartments with strict rules about what you can (and can’t) hang on the walls.
Let’s dive in and get inspired – because if they can achieve that movie-theater magic at home, so can you!
Case Study 1: The Enthusiast’s Basement
- The Struggle: “My basement was a dream for a home theater, except for the lighting. Those exposed pipes on the ceiling reflected even tiny light sources, the concrete floor was like a giant mirror, and I had small windows I just couldn’t fully block out.”
- Turning Point: “I realized trying to make it perfect was the enemy of progress. Instead of obsessing over making it look like a commercial cinema, I focused on fixing the worst light leaks. Cheap blackout curtains focused on the areas around the screen made the biggest difference, then paint choices to tame the rest. I even found super-thin LED strips that I could run along the pipes and dim way down – sounds weird, but it actually hides them in the dark!”
- The Result: “Honestly, I’m still shocked every time I go down there. It feels like an entirely different space. I spent way less than I expected and watching movies finally feels how it was meant to.”
Case Study 2: The “Compromise” Living Room Cinema
- The Struggle: “Our living room IS our home theater, which sounds great until you’ve got a toddler running around. Bright overhead lights for play-doh disasters just killed the mood, and the afternoon sun on the screen was a nightmare.”
- Turning Point: “Smart bulbs and timed smart blinds changed EVERYTHING. They automatically dim down in the evening, so it’s a smooth transition, and I can shut the blinds with a tap if the sun gets bad. Plus, the kids think it’s magic when I talk to Alexa to change the light colors for movie night!”
- The Result: “Turns out you CAN have a cozy family space and an awesome movie experience. It’s all about having the right tools for different needs. I don’t even stress about the mess anymore!”
Case Study 3: The “No Budget, No Problem” Approach
- The Struggle: “I live in a tiny apartment with a landlord who won’t let me change a thing. Plus, I’m a student – budget is, well, non-existent. My ‘screen’ was a white sheet hung on the wall, and my projector setup was on a stack of books… not ideal.”
- Turning Point: “Instead of giving up, I got creative. Turns out, blackout fabric is dirt cheap! I made a simple frame for the window that I can wedge in place for serious movie nights, then store in a closet. I repurposed clamp lights for bias lighting and raided the Christmas decorations for some battery-powered fairy lights – they’re dimmable and add a surprising amount of ambiance.”
- The Result: “Do I have the fanciest setup? Nope. But I also don’t have that awful glare from streetlights anymore, I can see details in dark scenes better… the difference is incredible for what I spent (which was almost nothing).”
Troubleshooting: Your Most Annoying Lighting Problems, SOLVED
Let’s face it, even the best setup can have a bad day. Here’s a quick checklist to help you identify and fix those frustrating issues before they ruin your movie night:
Problem: The Picture Looks Washed Out, Even in a Dim Room
- Suspect #1: Light leaks. Do the flashlight test! Check for light coming from anywhere: power lights, gaps in curtains, even under the door.
- Suspect #2: Screen glare. Is your screen directly in the path of a window, even if it’s blocked? Or maybe a shiny picture frame directly opposite? Changing the angle can help.
- Suspect #3: Your projector settings. Sometimes just upping the contrast a bit makes a world of difference. Consult your manual for instructions.
Problem: My Eyes Hurt After a While
- Suspect #1: Total darkness. Try adding a tiny bit of bias lighting behind the screen. An LED strip on the lowest setting can do wonders.
- Suspect #2: Blue light overkill. Lots of devices have a “night mode” setting with less harsh light – make sure your source (streaming stick, Blu-Ray player) isn’t blasting you with blue during dark scenes in movies.
- Suspect #3: It might not be the lights! If you’re new to a projector setup, your eyes might need adjusting time. Give it a few viewing sessions before assuming it’s the lighting.
Problem: Glare on the Screen That Changes Throughout the Day
- Suspect #1: The Sun! Even with curtains, angle shifts make a difference. Consider a more opaque option or multiple layers of blinds/curtains for precise control.
- Suspect #2: The room is deceivingly bright. A white ceiling or light walls can reflect the sun in unexpected ways. Test this by turning off all overhead lights during the day – you might discover leaks you didn’t notice.
- Suspect #3: An ALR screen could be your savior. It’s worth investigating if the other solutions above don’t cut it.
Problem: Navigating to the Popcorn is a Nightmare
- Suspect #1 Too dim too soon. Instead of blackout mode right as the movie starts, try a gradual transition using smart lights or dimmers.
- Suspect #2: Placement is everything. A strategically placed floor lamp with a low-wattage bulb can be enough for safe navigation without breaking the mood.
- Suspect #3 Go hands-free! If you have smart lighting, a simple voice command like “Movie break!” that slightly brightens the room makes all the difference.
Let’s Make This Interactive!
- What other common lighting problems have bugged YOU in your home theater?
- Do you have any weird, but effective, troubleshooting solutions you’ve discovered?
Level Up Your Lighting
By now, you’re probably realizing there are amazing tools to take your home cinema lighting to the next level. Here’s the thing: it’s NOT about throwing money at the problem. That’s why I’ve broken down my recommendations into categories to help you find the right fit:
The Easy Wins (Start Here if You’re on a Budget)
- Versatile Smart Bulbs: My go-to is the Philips Hue White and Color Ambiance line. They offer dimmable warm white light for everyday use, plus tons of fun colors for themed movie nights. The app control is super handy.
- No-Fuss Dimmers: If your existing overhead lights are the problem, a simple dimmer switch makes a surprising difference. Lutron has a reputation for reliability, and they’re easy to install.
- Bias Lighting Done Right: This LED light strip kit is specifically designed for TVs, comes with a remote for color/brightness control, and is super affordable.
Next-Level Upgrades (If You Want to Go All Out)
- Motorized Magic: Lutron’s Serena Smart Shades are amazing for complete blackout with the touch of a button. They’re an investment, but also add convenience to your daily life beyond just movie time.
- The ALR Option: If you have daytime viewing issues, a good ALR screen can be a game-changer. Do your research though! Not all are created equal. Brands like Elite Screens and VAVA offer options at different price points.
- Smart Home Hub: Take total control! Systems like SmartThings allow you to connect all your smart lighting devices, set schedules, and even use voice commands. It’s nerdy but surprisingly satisfying once it’s all set up.
DIY Warriors (Embrace Your Inner MacGyver)
- Blackout Fabric is Your Friend: Head to the fabric store and find the darkest, thickest blackout fabric you can. Custom-made window covers to suit your exact needs for cheap!
- Repurpose Those Old Lamps: Got a floor lamp that’s collecting dust? Try swapping out the bulb for a colored one for cheap mood lighting, or a low wattage one for improved navigation.
- Get Creative with Christmas Lights: Battery-powered string lights with tiny bulbs can be surprisingly effective bias lighting. Choose warm white ones for the best look.
Important Note: Before buying anything, make sure it’s compatible with your existing gear! A quick Google search usually confirms if a smart bulb will work with your hub, etc.
Ready to achieve that picture-perfect viewing experience? Here’s what to do next:
- Take Action: Do the “flashlight test” tonight to identify any sneaky light leaks! You might be surprised how much fixing those tiny issues improves things.
- Start Planning: What’s ONE upgrade that would make the biggest difference for your setup? Start there.
- Don’t be afraid to experiment: Lighting is all about finding what works for YOU. Have some fun with it!
Remember: Mastering light control is a journey, not a destination. Enjoy the process and the incredible picture you’ll create. Now go pop some popcorn and get watching!